Easy Closed Captioning
I love it when good ideas and technology converge. The 99% Invisible podcast did an episode recently on closed captioning called Craptions. Specifically, the hosts and their guests talked about the challenges of creating high-quality captions, the generally improving quality of auto-generated captions, and the work of the National Association of the Deaf (NAD) to ensure that commercial channels are living up to the requirements of the Americans With Disabilities Act (ADA).
The episode immediately made me think of the little experiments I’ve been doing lately with MacWhisper, a speech to text tool that leverages OpenAI technology to faithfully transcribe audio. The software’s ability to correctly recognize jargon and ignore ums, uhs, and even occasionally repeated words in remarkable.
So would it be possible to use MacWhisper to generate captions that I can add to the meager collection of videos on my personal YouTube channel?
The short answer is yes. It works with minimal additional effort on my part.
Here are the steps I used to retroactively add closed captions to existing videos on my YouTube channel:
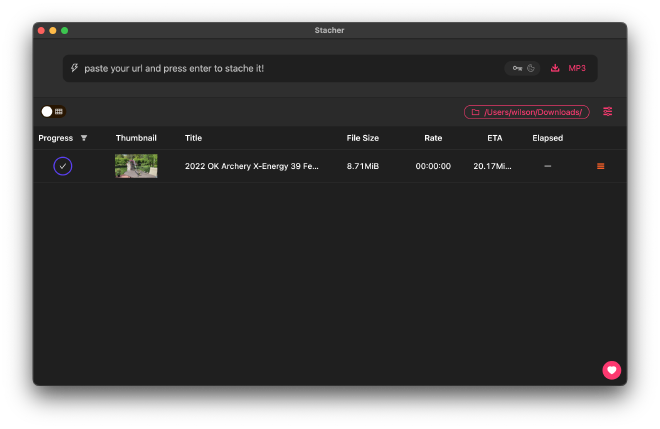
- Download the audio of my videos with Stacher, an excellent GUI interface to youtube-dl.
- Process the downloaded audio with MacWhisper to generate and export a transcript as an SRT file.
- Review and edit the SRT file as needed in VSCode.
- Upload the SRT file to YouTube as a subtitle track to my existing video.
Why bother? #
My personal YouTube channel is exempt from the ADA, so why bother taking any extra time to create good captions? First, I want to make sure that anyone can view my videos regardless of their physical abilities. Second, I’m aware of universal design, the concept that accommodations made for the benefit of some often have benefits for all.
There’s a bunch of research that documents how often people who aren’t deaf or hard of hearing use captions regularly. See Captions increase viewership, accessibility and reach for a decent summary.
Why not just use auto-generated captions? #
The podcast episode addresses this, but in short, it boils down to two reasons to prefer crafted captions over auto-generated ones:
- Auto-generated captions have improved greatly, but they’re far from perfect. My approach uses MacWhisper to do all of the heavy lifting, while I am left to do a simple, quick check to ensure everything is right.
- As it stands today, YouTube’s auto-generated captions are displayed one… word… at… a… time. It requires constant attention to monitor text that appears “live” compared to reading a sentence or phrase at a time as you do with typical movie captions.
My video editing software of choice, DaVince Resolve, includes AI-powered auto-generated captions as part of their paid “Studio” version. My needs are modest, and I get by with their free version easily. Lots of other tools are incorporating automatic captioning too, but I haven’t tested them. The solution I’m using does the job for free except for the initial cost of the MacWhisper software, which at the time I purchased it was only about $20.
The Step-By-Step #
Here’s the process I used to add closed captions retroactively to some of my YouTube videos.
Getting the Audio #
Since I was adding captions after the fact, I needed to grab the audio from my videos first. YouTube-dl is a fantastic open source tool to download Internet video. It has a million commandline options that can be overwhelming for an occasional user, so I prefer to use Stacher and its convenient GUI interface. This step isn’t necessary if you’re adding captions at the same time you’re editing and publishing your video.
Generate the Transcript #
There are a number of standard file formats for subtitles/captions. As I looked around, I discovered that the SRT format is the most commonly used and is compatible with YouTube. That’s good enough for me.
The SRT file format is simple enough, and it’s certainly possible to write a closed caption file from scratch with a simple text editor. The complexity of the caption timing, seen in the file below, adds a lot of hassle, and most video editors prefer to use software to generate the file.
1
00:00:00,000 --> 00:00:02,800
Hey everybody.

2
00:00:02,800 --> 00:00:08,600
I realize that not everyone lives near a shop that carries OK Archery.

3
00:00:08,600 --> 00:00:12,960
They’re not nearly as common as some of the bigger brands, so it can be difficult to get

4
00:00:12,960 --> 00:00:15,860
a real-life picture of what one of these bows is like.
When you download MacWhisper you can choose to install different language models. The smaller models take up less storage space and run faster at the cost of less accurate transcriptions. I installed the largest model which takes 3 GB of storage and runs the slowest, but the quality of the speech-to-text conversion is amazing. In my tests, MacWhisper correctly identified brand names, acronyms, and lots of other jargon. The most serious error I ran across was MacWhisper converting “vane” (which is the term for the fletching at the back of an arrow) to “vein.” It was an easy search and replace to fix it.

For each of my videos I simply listened to the video while scanning the generated transcripts in VSCode to remove any random errors. (VSCode has a plugin that does syntax highlighting of .srt files.)
Finishing Touches #
Once you have the SRT file ready to go, the next and final step is uploading the file alongside the YouTube video. You don’t need to re-upload your video.
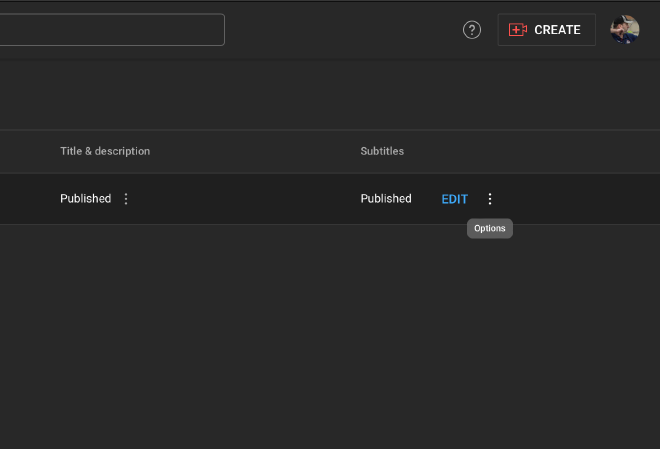
Unless you upload a transcript at the same time you upload your original video, YouTube will have added an automatically generated one for you. You’ll need to delete that one before uploading your own.
In the Subtitle section, click on the vertical three dots to find the menu where you can delete the existing captions.
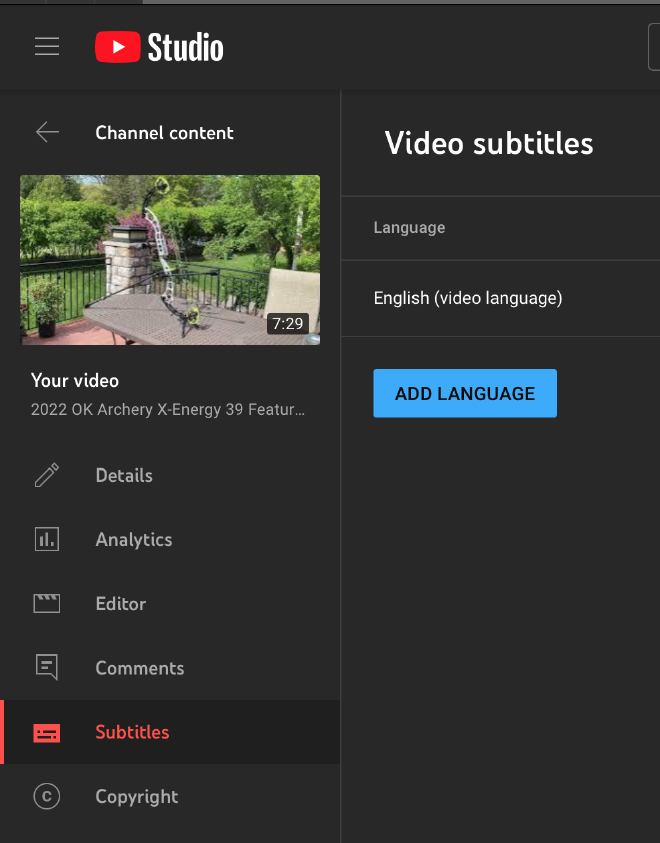
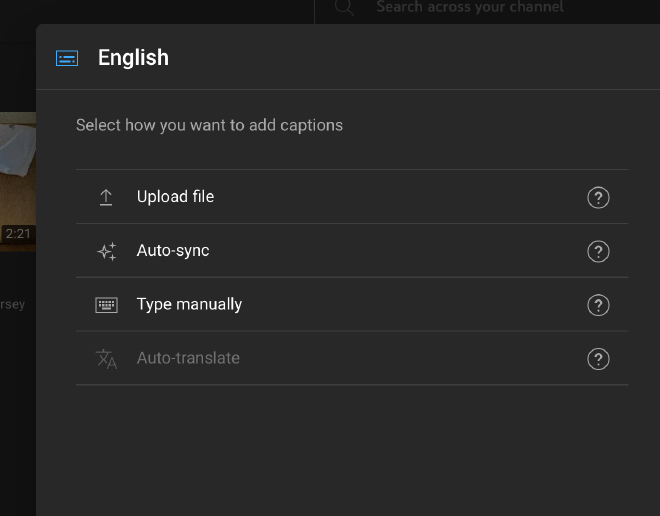
Once the YouTube captions are deleted, video the “Video Details” for the video, choose the Subtitle menu, and upload the SRT file you created.
Bringing it Home #
Now that the SRT file is uploaded, play the video and click the “CC” button to confirm that your captions display properly.